
This instruction will walk you through the first steps in using Contact Form 7, the most polished contact form plugin for the WordPress community.
Installing Contact Form 7
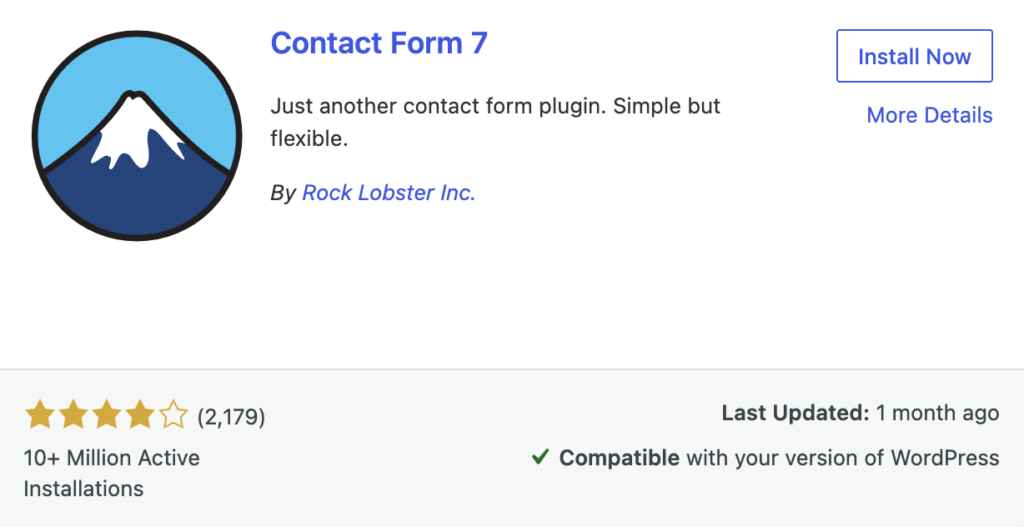
You can download the plugin package from WordPress.org and use all the features for free forever. To install Contact Form 7 into your WordPress site:
- Log in to the site as an administrator.
- Go to Plugins > Add Plugin.
- Search “Contact Form 7”.
- Install and activate it.
Inserting a contact form into a page
Once you activate Contact Form 7, the plugin creates an initial contact form in the database. To insert the contact form into the Contact page:
- Go to Pages > All Pages.
- Open the editor screen of the Contact page. If you don’t have the Contact page yet, create a page titled “Contact”.
- Insert a Contact Form 7 block into the content area.
- Select the default contact form (one titled “Contact form 1”).
- Save the page.
Editing a contact form
The default contact form may be too simple, and you may want to customize it or create a new one to serve your own needs. To edit a contact form:
- Go to Contact > Contact Forms to edit an existing one or Contact > Add Contact Form to create a new one.
- Edit the form and email templates.
- Click Save in the sidebar.